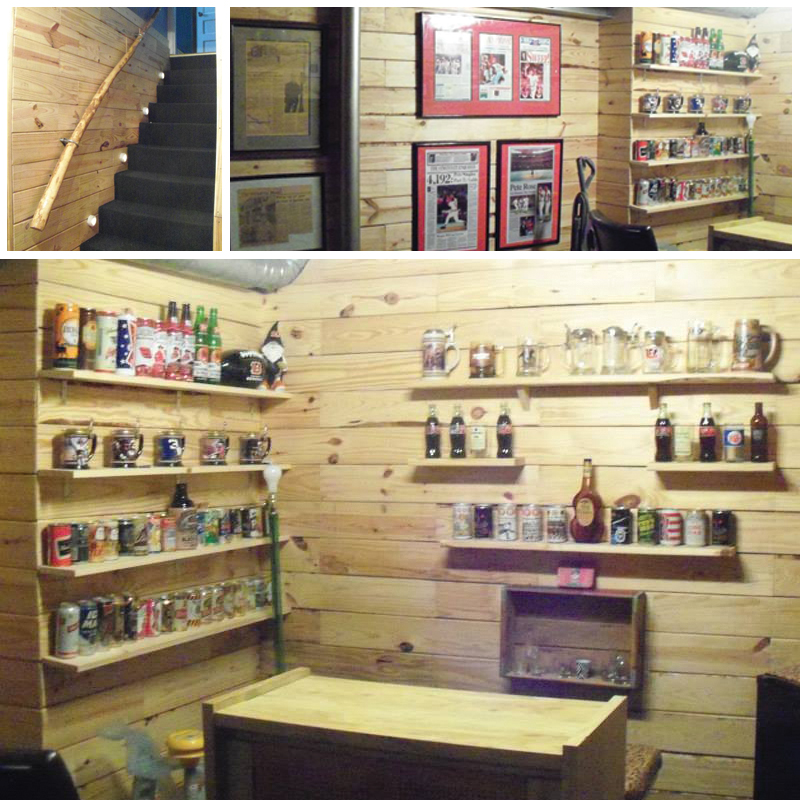
I’ve had a lot of request for eco-friendly flooring in the past year and what better way to stay “Green” than to reuse wood pallets for flooring or on other DIY projects. Checkout what my Uncle Ronny built in his man cave!
Create Your Own Green Floor or Walls With Wood Pallets
Materials you will need for your DIY wood pallet project:
- Collect lots of wood pallets (any size or width) – Do not use IPPC stamped pallets with the HT and MB symbols (these contain toxic chemicals)
- Mineral oil and applicator for cleaning the surface of the pallet wood (Lambs Wool Applicator)
- Wood pallet wall: 2×4’s for framing 16inch on center wall(s)
- Wood pallet floor: Plywood sub-floor (unless concrete) and a suitable polyurethane
- Finish: Extended hand roller or drywall trowel and a durable brush
Useful Tip ~ Wood pallets are technically built the same way as an engineered wood floor ply layers meaning you can install it on concrete. If you choose to go this route I recommend using a moisture resistant glue, just to be sure!
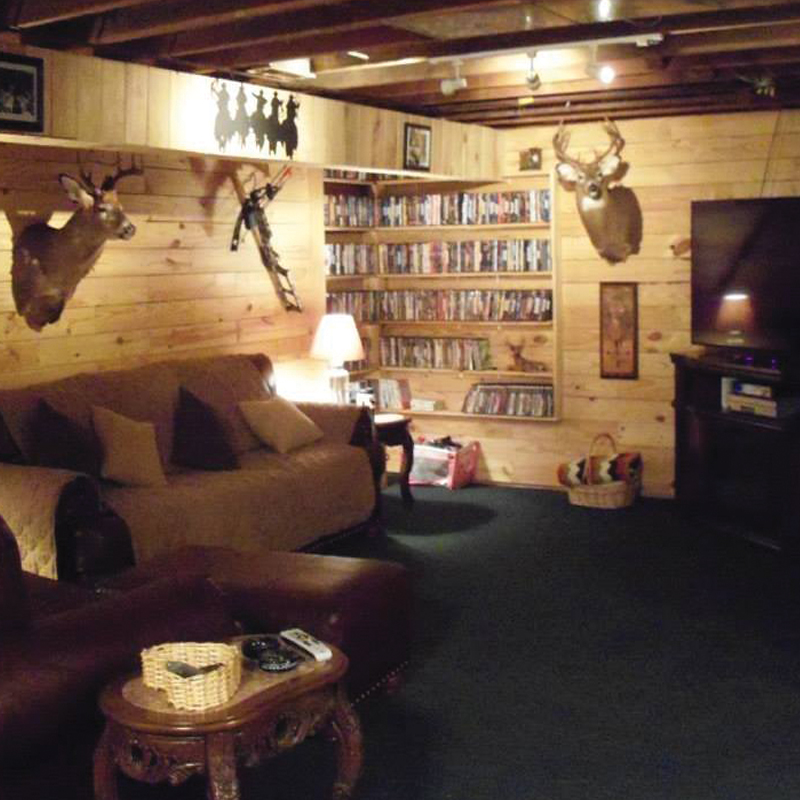
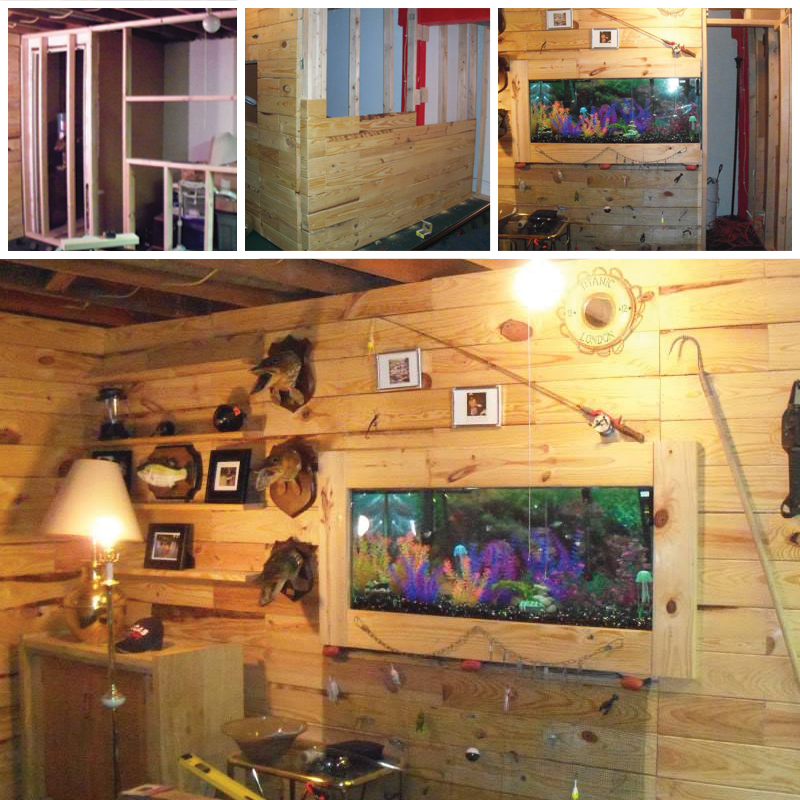
My Uncles DIY Wood Pallet Basement
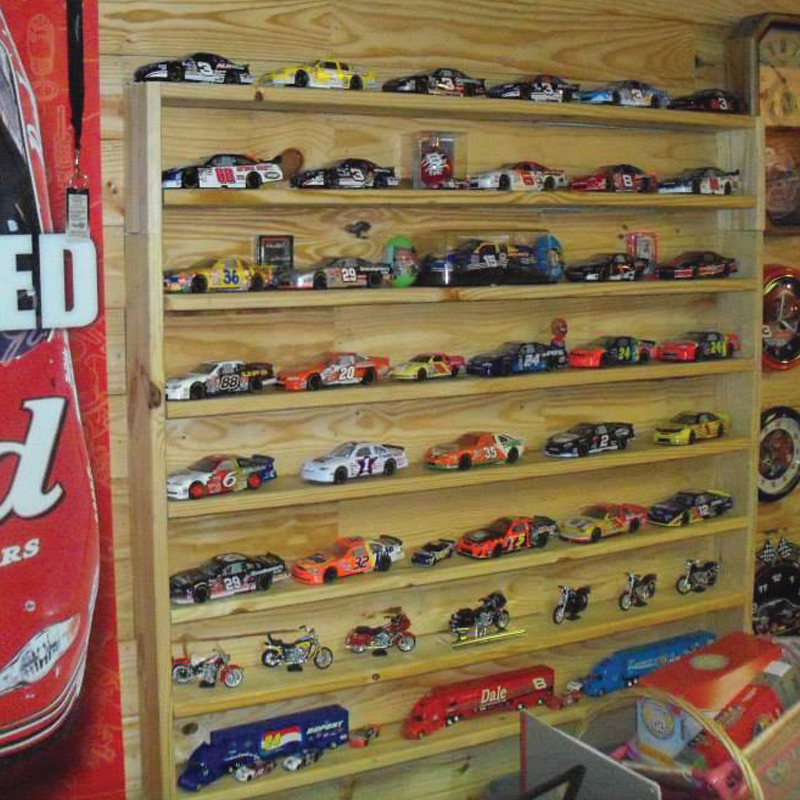
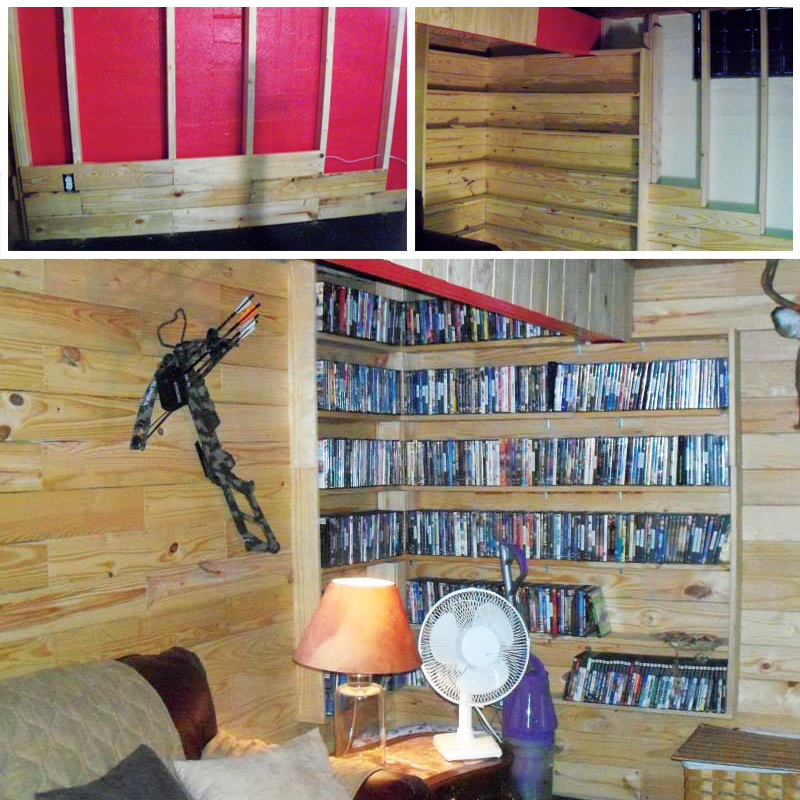
Uncle Ronny, recently finished his wood pallet basement that took over a year and a half to complete! Ripping through thousands of wood pallets he built everything from secret storage units, custom shelving too a framed wall inset fish tank.
Ronny removed each individual nail from his pallet boards, but you can saw-saw them off and keep the nail head intact. This will give your floor or wall a more rustic look!
If you are building a wood pallet floor, make sure you have a solid foundation with a plywood sub-floor. The same goes for the pallet wall, but instead of a sub-floor, make sure you have a strong frame built with your 2×4’s. *Let us know in the comments if you would like a detailed explanation of the beginning process to start your frame or sub-floor.
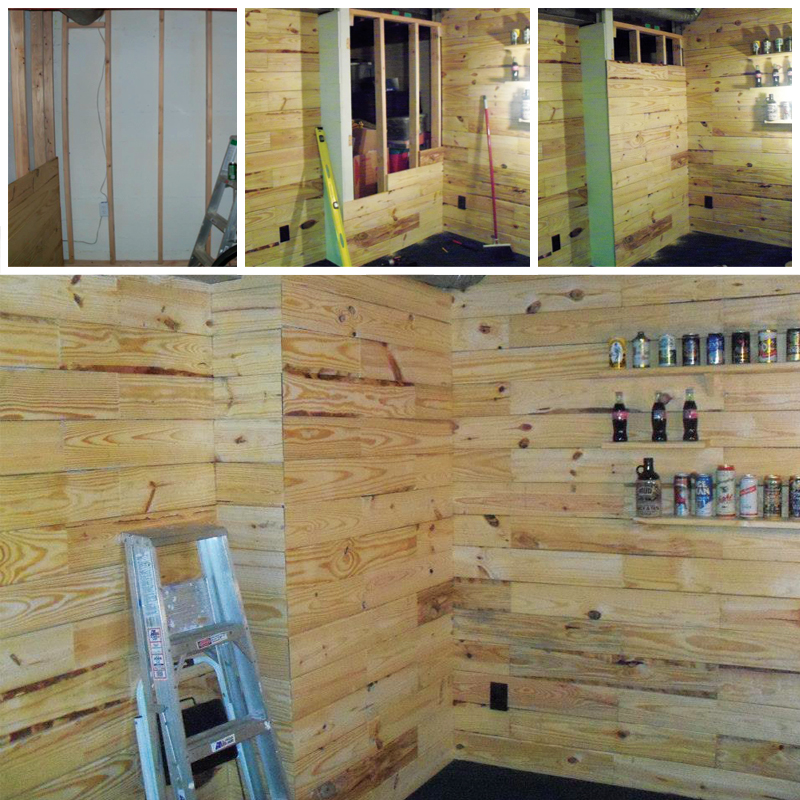
The key to building the walls or floor is to make sure the widths of each board for a row is the same and take your time. Nothing is worse than popping an entire row out to replace one uneven board. Sadly this will probably happen a few times. My uncle suggests lining each row up first, prior to nailing it down, to make sure the widths are the same across the row. Once you have the first row nailed down, rinse and repeat!
After you have your pallet floor or wall built, run across it with any standard mineral oil to clean the wood using an applicator. Ronny suggested to use a Lambs Wool Applicator, because it seems to work the best without getting snagged. Let the oil soak for bit and then run back over it with the applicator to remove the left over oil. The mineral oil will allow the wood grains character to “POP” out!
Wood Pallet Floor Only
Optional Sanding: The reason this is optional is because without sanding the floor the finish will always look ruff. However, some may want that rustic ruff look on the finish and they can skip this step. For that perfect finish here is the sanding preparation we suggest. Start along the baseboard edge with a 36-grit paper to remove any excessive distress from the planner, then move to a 60 and to 100 for a smooth finish. Don’t use a sanding block when you go along the baseboard edge and sand by hand. They tend to not get down into the groves. Make sure to come out about 4 inches and start on the inner portion of the floor. After you go around the baseboard Maroon buffing pads work great here!
How to apply the finish:
- Clean the floor. Really take time sweep the floor and follow up with a shop-vac to remove any debris.
- Cover your shoes with plastic booties and wear a respirator.
- Get ready to work fast ans start at the furthest point away from the entry way into the room! With a durable painters brush make a 3-5inch wide stripe of polyurethane along the baseboard floor (If it is a large area every 15 minutes you will need to preform step 3 and 4 simultaneously).
- At the furthest point away from the door spread a strip of finish. Apply the polyurethane with the grain using a roller or drywall trowel. Work quickly to overlap the wet polyurethane baseboard edge and move backwards towards rooms entryway. Every few feet back you will have to add another strip of polyurethane, until complete.
- Wait a few hours based on the polyurethane’s density and apply another coat. We recommend applying at least three to four coats!
Finish Tips and Tricks
:
- The thicker the polyurethane the longer it will take to dry and make sure it is a controlled environment with closed windows. We wouldn’t want excess saw dust or bugs landing on the finish!
- The first layer of polyurethane should be thinner than the next coats. This will allow the wood grain pours to be filled evenly.
- Want a deep shine to your finish? To achieve this look Ronny suggests after each coat of polyurethane is dry hand-sand the floor with a fine 100 grit sand paper. It will give the floor a milky look. Once the entire floor has been sanded — clean the floor to get the residue off left by the sandpaper. Apply the next coat of polyurethane and repeat until you are on your last coat. Do not sand the last coat and your DIY floor will get that extra shine you are looking for!
